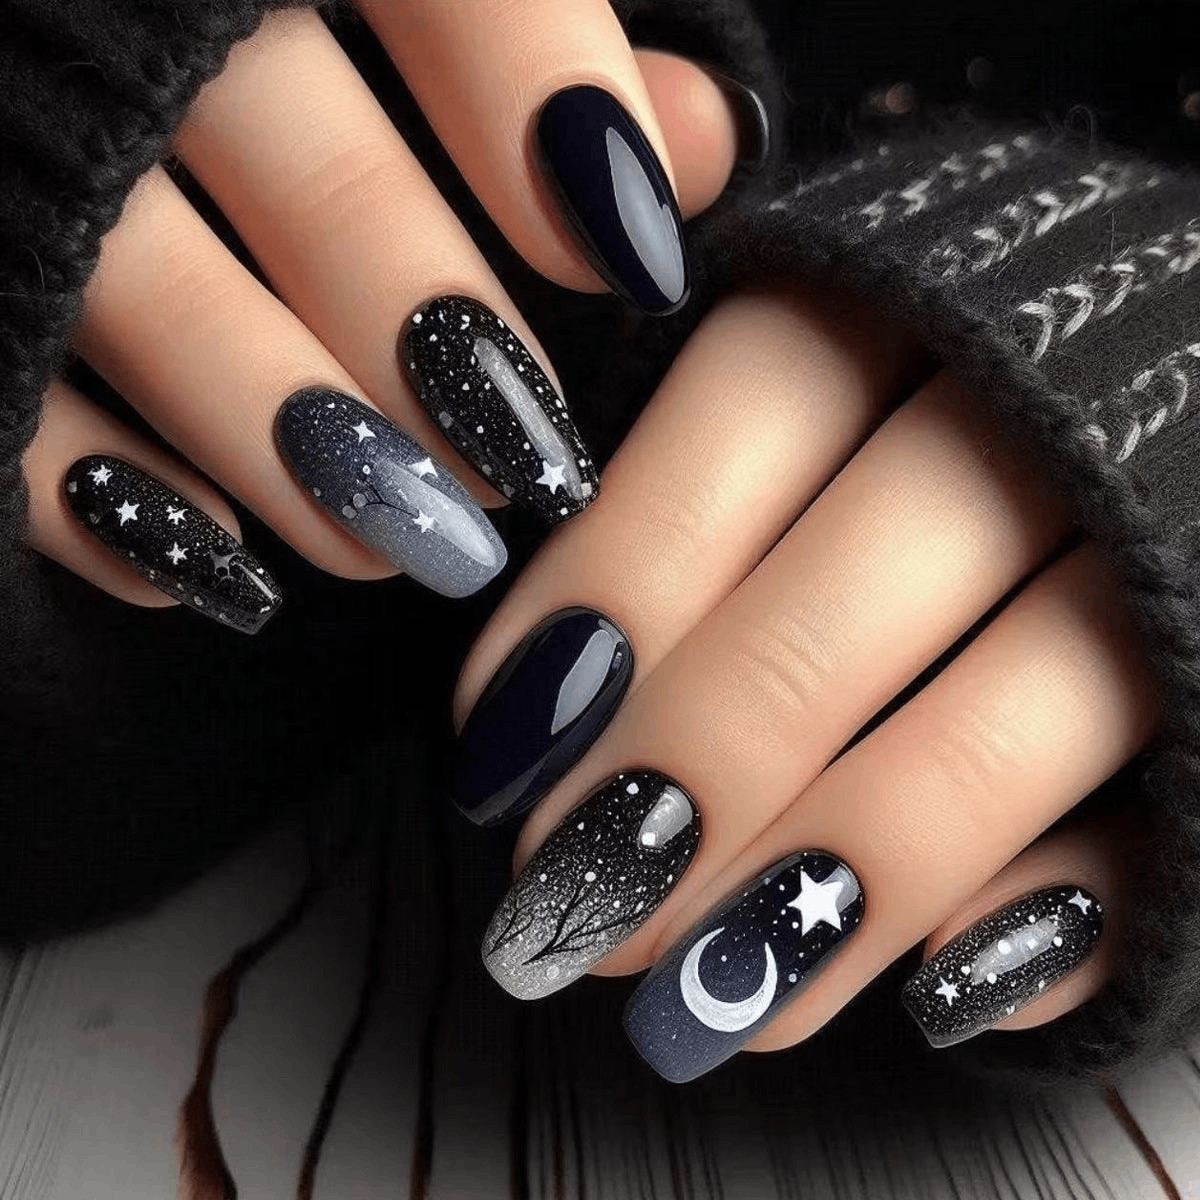
Black nails have always been a classic in the beauty world — sleek, edgy, and timeless. But something magical happens when you combine them with short coffin nail designs: the look transforms into something stylish, modern, and surprisingly practical.
As someone who loves to design your own nails, I’ve spent the past year experimenting on my own short nails, discovering designs that prove you don’t need long acrylics to have nails that turn heads. Let me share my personal journey, favorite designs, and easy tips so you can create your own stunning short coffin black nail designs too.
How I Discovered the Charm of Short Coffin Black Nail Designs
For years, I believed coffin nails were only meant for long, dramatic extensions. My natural nails are naturally short and a bit fragile, so I thought this style wasn’t for me.
One day, on a whim, I decided to carefully file my nails into a gentle coffin shape — slightly tapered sides with a flat tip — and painted them glossy black. The result? I couldn’t stop staring at my hands. It felt chic, elegant, and a little bit rebellious all at once.
The black polish gave my nails a bold, confident vibe, while the short coffin shape kept them looking fresh and wearable. And since then, I’ve fallen in love with exploring all the different ways to design your own nails in this style.
🖤 Why Short Coffin Nails Are So Practical (Yet Stylish)
Here’s what surprised me most:
- Comfortable for daily life: Typing, texting, cooking, and chores feel effortless.
- Less breakage: Shorter nails with a coffin shape are sturdier than long ones.
- Endlessly versatile: Whether it’s matte, glossy, rhinestones, or minimalist art, black nails make every design feel stylish.
- Quick to fix or change: If a nail chips, it’s easier to redo than with long extensions.
For me, short coffin black nail designs are the perfect blend of elegance, edge, and everyday practicality.
🌟 My Favorite Short Coffin Black Nail Designs (Tried & Loved)
Here are the designs I keep coming back to — each discovered through lots of late-night DIY nail sessions:
🖤 1. Matte Black with Glossy Tips
A black-on-black design sounds subtle, but the contrast between a matte base and shiny tips is striking. It’s minimalist yet unique — and surprisingly easy to do with just a matte top coat and a bit of patience.
✨ 2. Gold Accents for a Luxe Touch

I love the way gold stands out against matte black. My go-to method: matte black on all nails, then add thin gold lines or foil on one or two accent nails. Using striping tape makes it clean and professional-looking.
⚡ 3. Black Marble Effect
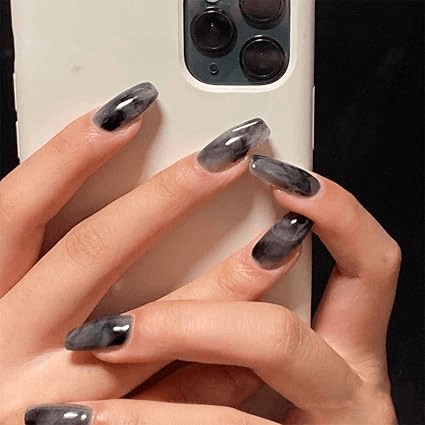
I thought marble nails were too advanced until I tried them myself. After painting a glossy black base, I used a fine brush (or even a toothpick) dipped in white polish to draw gentle, imperfect veins. The messier, the better — it looks natural and elegant.
💎 4. Tiny Rhinestones Near the Cuticle
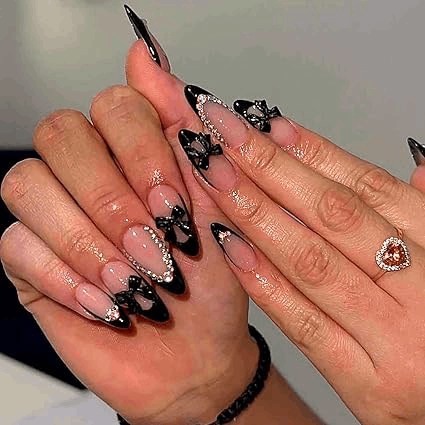
When I want just a hint of sparkle, I place a small rhinestone at the base of each nail. It catches the light beautifully without feeling flashy. Plus, it’s easy to apply using a dot of clear top coat as glue.
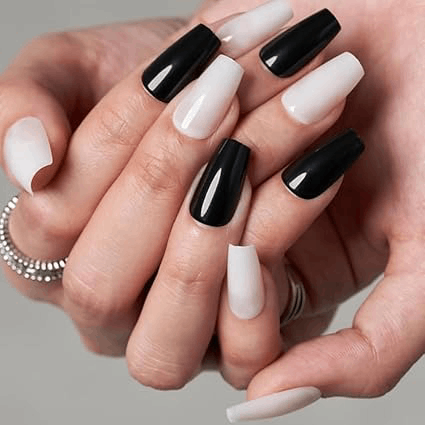
🖤 5. Black French Tips

Instead of classic white, I paint glossy black tips over a nude base. On short coffin nails, this design looks fresh, modern, and subtly edgy.
🛠 How to Design Your Own Nails: My Simple Routine
After months of experimenting, here’s my step-by-step routine for creating short coffin black nail designs at home:
✅ Step 1: Shape Your Nails into Coffin Style
Use a fine nail file to gently taper the sides and flatten the tip. For short nails, don’t overdo it — a subtle shape change is enough.
🎨 Step 2: Pick Your Perfect Black Polish
I keep a few in my kit:
- Matte black for a modern vibe
- Glossy black for classic shine
- Black with fine shimmer for special occasions
✍ Step 3: Add Your Design
This is the fun part where you design your own nails:
- Use striping tape for clean lines
- A thin brush for marble or geometric patterns
- Rhinestones or foil for accents
If you’re new, start small: maybe a single accent nail or tiny dots.
🛡 Step 4: Seal & Protect
Use:
- A glossy top coat for shiny designs
- A matte top coat for velvety finishes
This keeps your design looking fresh and chip-free longer.
💡 Personal Tips That Made My DIY Nails Better
I’ve had my share of smudges and crooked lines! Here’s what helped me improve:
- Apply polish in thin layers — thick coats take forever to dry and smudge easily.
- Let each layer dry fully before adding the next.
- Use a cleanup brush dipped in remover to tidy up the edges.
- Invest in a good nail file and cuticle pusher — they make shaping so much easier.
- Wear gloves when doing chores to protect your designs.
✨ Trending Short Coffin Black Nail Designs You’ll Love
If you want something new, try these trendy ideas:
- Holographic flakes or stripes: Subtle yet eye-catching when they catch the light.
- Negative space: Leave part of the nail bare for a modern look.
- Black ombré: Blend black into grey or nude — especially pretty on coffin shapes.
- 3D studs or textured polish: Adds dimension without being bulky.
🖤 Why Designing Your Own Short Coffin Nails Feels So Rewarding
Beyond how they look, what keeps me coming back to design your own nails is the creative joy.
It feels like painting tiny canvases — each design is a small act of self-expression. And black polish, with its sleek and versatile look, always feels fresh, bold, and stylish.
Plus, the satisfaction of looking down at your nails, knowing you did them, is truly special.
💅 Ready to Try It?
I hope my journey inspires you to grab your black polish, shape your short coffin nails, and start experimenting. Remember, perfection isn’t the goal — creativity is. Your ideal design might just come from trying something new.
So go ahead: design your own nails, have fun, and let your short coffin black nail designs show off your personal style — one brushstroke at a time.